Multiple Wordpress in Lighttpd & Php5 in Ubuntu VPS or Server
Lighttpd = Security, speed, compliance, and flexibility.
It is pronounced as “Lighty”. Lighttpd is rapidly redefining efficiency of a webserver . It is Designed and optimized for high performance environments. With a small memory footprint compared to other webservers. 128mb ram can run it like a mig29 with several wordpress(I will try two today). It has advanced feature set like FastCGI, SCGI, Auth, Output-Compression,URL Rewriting and many more. It is perfect for every server and also for VPSs with low memory. You will be amazed by its speed with low ram and swap. It is totally free.
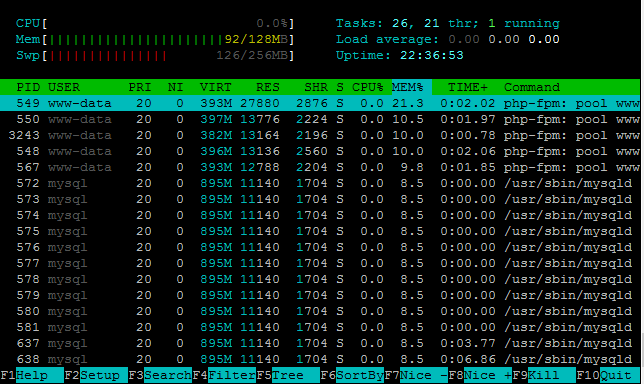
Let’s install Lighttpd with MySql with PHP-FPM in Ubuntu or maybe Debian, But i tried in Ubuntu. Look my VPS which is 128mb ram with 256mb swap and running two wordpress with lightspeed.
First open putty or terminal and connect to your vps or server. Then after login upgrade Ubuntu.
sudo apt-get update;sudo apt-get upgrade;sudo apt-get dist-upgarde
Reboot system and reconnect by ssh.
reboot
Now Install mysql.
sudo apt-get install mysql-server mysql-client
You will be asked to set mysql root password. Now remove apache if it is pre-installed.
/etc/init.d/apache2 stop
apt-get purge apache2
apt-get autoremove
Then put this.
update-rc.d -f apache2 remove
Now install lighttpd.
sudo apt-get install lighttpd
Now in the browser you can access your lighttpd server by this.
http://xxx.xxx.xxx.xxx/index.lighttpd.html
xxx.xxx.xxx.xxx is your server or vps ip address.
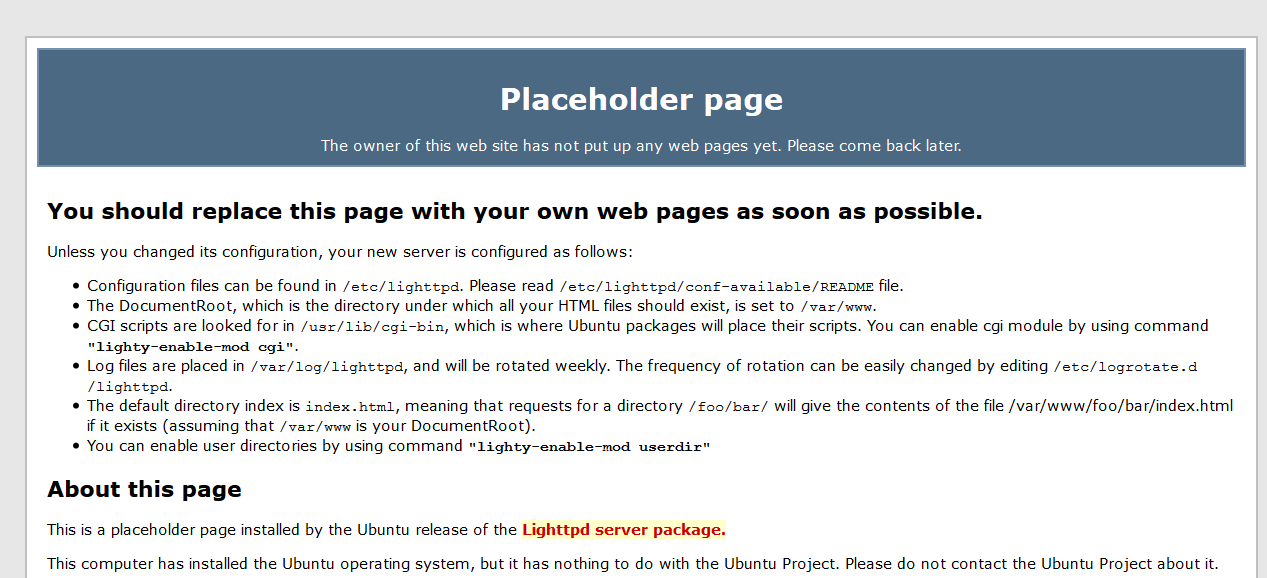
You will get a page like below.
Now let us Install php5, php-fpm.
sudo apt-get install php5-fpm php5
Now we have to edit a file. I use nano for editing files.
sudo apt-get install nano
Now let us edit php.ini.
sudo nano /etc/php5/fpm/php.ini
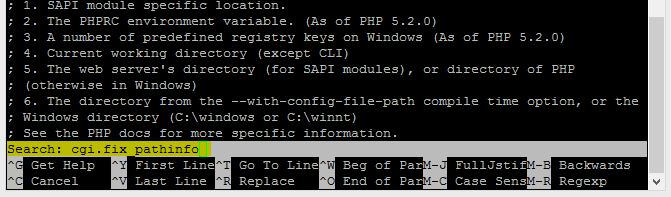
You will see many text. Now press ctrl+w and write cgi.fix_pathinfo=1 in the below appeared field. And delete “;” symbol from the lines start. Press ctrl+x the y and then press Enter to save the file.

The Lighttpd configuration file for PHP /etc/lighttpd/conf-available/15-fastcgi-php.conf is suitable for use with spawn-fcgi, however, we want to use PHP-FPM, therefore we create a backup of the file (named 15-fastcgi-php-spawnfcgi.conf) and modify 15-fastcgi-php.conf as follows:
cd /etc/lighttpd/conf-available/
mv 15-fastcgi-php.conf 15-fastcgi-php-spawnfcgi.conf
Now edit fastcgi and put there the texts from below :
nano 15-fastcgi-php.conf
# /usr/share/doc/lighttpd-doc/fastcgi.txt.gz
# http://redmine.lighttpd.net/projects/lighttpd/wiki/Docs:ConfigurationOptions#mod_fastcgi-fastcgi

## Start an FastCGI server for php (needs the php5-cgi package)
fastcgi.server += ( ".php" =>
        ((
                "host" => "127.0.0.1",
                "port" => "9000",
                "broken-scriptfilename" => "enable"
        ))
)
To enable the fastcgi configuration, run the following commands:
lighttpd-enable-mod fastcgi
lighttpd-enable-mod fastcgi-php
This creates the symlinks /etc/lighttpd/conf-enabled/10-fastcgi.conf which points to /etc/lighttpd/conf-available/10-fastcgi.conf and /etc/lighttpd/conf-enabled/15-fastcgi-php.conf which points to /etc/lighttpd/conf-available/15-fastcgi-php.conf:
ls -l /etc/lighttpd/conf-enabled
service lighttpd restart
Now let us check if php works or not.
nano /var/www/info.php
And put below texts and save.
<?php phpinfo(); ?>
Now try accessing the page by browser.
http://xxx.xxx.xxx.xxx/info.php
If you see a page with php on the page head then you are passed. 🙂
To get MySQL support in PHP, we can install the php5-mysql package. It’s a good idea to install some other PHP5 modules as well as you might need them for your applications. You can search for available PHP5 modules like this:
apt-cache search php5
Pick the ones you need and install them like this:
apt-get install php5-mysql php5-curl php5-gd php5-intl php-pear php5-imagick php5-imap php5-mcrypt php5-memcache php5-ming php5-ps php5-pspell php5-recode php5-snmp php5-sqlite php5-tidy php5-xmlrpc php5-xsl
Xcache is a free and open PHP opcode cacher for caching and optimizing PHP intermediate code. It’s similar to other PHP opcode cachers, such as eAccelerator and APC. It is strongly recommended to have one of these installed to speed up your PHP page.
Xcache can be installed as follows:
apt-get install php5-xcache
Now restart PHP-FPM:
/etc/init.d/php5-fpm restart
Now if you reload that page in your browser you will see more module added there.
Now let us install phpmyadmin for our easy access to mysql database.
apt-get install phpmyadmin
During installation you will be promted to chose one server.
Apache
Lighttpd
You will have to select lighttpd by pressing Down Keybord Button to take marker on lighttpd and Select by SPACE BAR. And then press TAB to take the marker to OK option and press enter. You will also be asked “Configure database for phpmyadmin with dbconfig-common?” where you will have to select NO by pressing Right Keybord Button and Enter Button to select.
Now in browser you can access phpmyadmin by :
http://xxx.xxx.xxx.xxx/phpmyadmin
Now open php-fpm config file by:
nano /etc/php5/fpm/pool.d/www.conf
adn search for listen = 127.0.0.1:9000 and put ” ; ” in the lines start. and then after that line put this, “listen = /tmp/php5-fpm.sock” and save the file.
Then restart PHP-FPM:
/etc/init.d/php5-fpm restart
Next open Lighttpd’s PHP configuration file /etc/lighttpd/conf-available/15-fastcgi-php.conf and replace the host and port lines with “socket” => “/tmp/php5-fpm.sock”:
nano /etc/lighttpd/conf-available/15-fastcgi-php.conf
# /usr/share/doc/lighttpd-doc/fastcgi.txt.gz
# http://redmine.lighttpd.net/projects/lighttpd/wiki/Docs:ConfigurationOptions#mod_fastcgi-fastcgi

## Start an FastCGI server for php (needs the php5-cgi package)
fastcgi.server += ( ".php" =>
        ((
                "socket" => "/tmp/php5-fpm.sock",
                "broken-scriptfilename" => "enable"
        ))
)
Finally restart Lighttpd:
/etc/init.d/lighttpd restart
Now , let us point domain to server. Open domain control panel and in nameserver you have to select default and then from DNS management you will have to create A record to point your servers IP. If you can’t, ask your domain host to help you. I will use two domain now to show you how to add multiple site by only pointing by A record.
Now open lighttpd config file.
nano /etc/lighttpd/lighttpd.conf
Now remove # from front of “mod_rewrite”,
And check what is saying server.document-root , normally it is always /var/www . If not that , then change that to it.
Now , let you have two website site1.com and site2.com
As we have selected or got /var/www as document root , we have to use /var/www as our default website folder. We have to create two folder for two website.
mkdir -p /var/www/site1.com/web
mkdir -p /var/www/site1.com/logs
mkdir -p /var/www/site2.com/web
mkdir -p /var/www/site2.com/logs
This will create two folder with sub folder named web and logs. Now let us create two index.php file to both domain folder to check virtual host.
FOR SITE1.COM:
nano /var/www/site1.com/web/index.php
And put text/code from below and save.
<?php echo"site1.com"; ?>
FOR SITE2.COM:
nano /var/www/site2.com/web/index.php
And put text/code from below and save.
<?php echo"site2.com"; ?>
Now open lighttpd configuration file and add below two lines to the end and save.
include "site1.com.conf"
include "site2.com.conf"
Now for both of the site we have to create configuration file.
FOR SITE1.COM:
nano /etc/lighttpd/site1.com.conf
Put below code and save the file.
$HTTP["host"] =~ "(^|.)site1.com$" {
        server.document-root = "/var/www/site1.com/web/"
        accesslog.filename = "/var/www/site1.com/logs/error.log"
}
FOR SITE2.COM
nano /etc/lighttpd/site2.com.conf
Put below code and save file.
$HTTP["host"] =~ "(^|.)site2.com$" {
        server.document-root = "/var/www/site2.com/web/"
        accesslog.filename = "/var/www/site2.com/logs/error.log"
}
now save and restart lighttpd by
service lighttpd restart
Access the both domains and if you can see in your browser that site1.com is showing site1.com and site2.com is showing site2.com then you have done well.
Now let us install wordpress. First access phpmyadmin from browser to create database.
http://xxx.xxx.xxx.xxx/phpmyadmin
or
http://site1.com/phpmyadmin
or
http://site2.com/phpmyadmin
You will be asked for user and password. Use root as user and password as you are chosen earlier. Click on Databases and create Database.
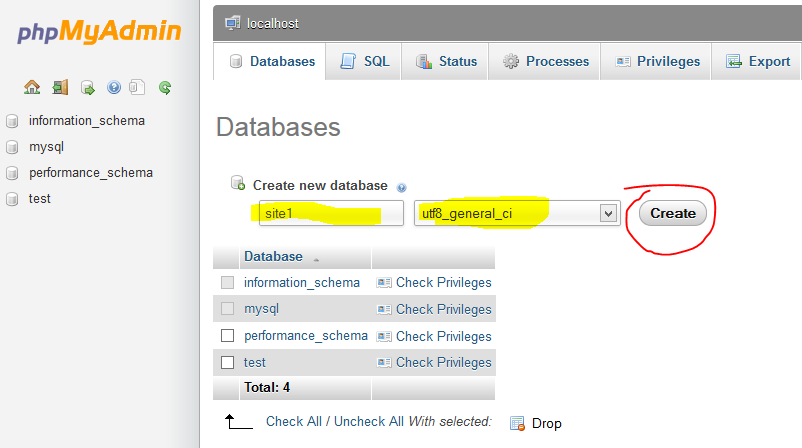
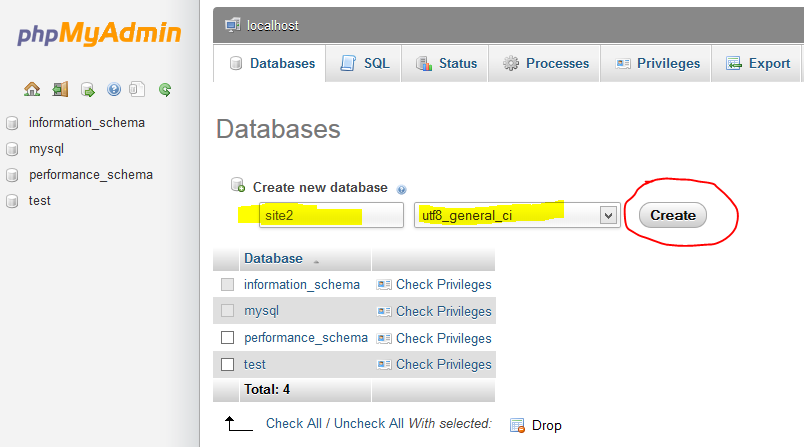
Create Two database for two site/wordpress. I use collation as utf8_general_ci for my native language support and all.
Now from ssh go to site1s default folder:
cd /var/www/site.com/web/
And download wordpress from https://wordpress.org/download/ link. You can download zip file or tar.gz . I am showing you how to extract both files.
ZIP:
wget https://wordpress.org/latest.zip
Extract By
unzip latest.zip
TAR.GZ:
wget https://wordpress.org/latest.tar.gz
Extract By
tar zxvf latest.tar.gz
whatever you do you will find a folder extracted there named wordpress. If you want to acces wordpress from a folder then let it stay that way or maybe you want your wordpress site access directly by domain name which is the coolest and i follow that. How to move all files from that sub folder of wordpress ? Let us begin. First delete old created index.php file from websites default folder.
rm /var/www/site1.com/web/index.php
And now move all files from wordpress to default directory/folder.
mv /var/www/site1.com/web/wordpress/* /var/www/site1.com/web/
Now all files moved keeping wordpress folder empty and we don’t need that folder. So delete it and also delete the archieve file(though you can use that file for site2.com by copying or maybe download ? ).
rm -r /var/www/site1.com/web/wordpress;rm /var/www/site1.com/web/latest*
Now follow the same procedure for site2.com.
Let us start wordpress installation. First edit site1.com config file.
First Rename sample config file.
mv /var/www/site1.com/web/wp-config-sample.php /var/www/site1.com/web/wp-config.php
Now edit the renamed file.
nano /var/www/site1.com/web/wp-config.php
Now put everything like below.
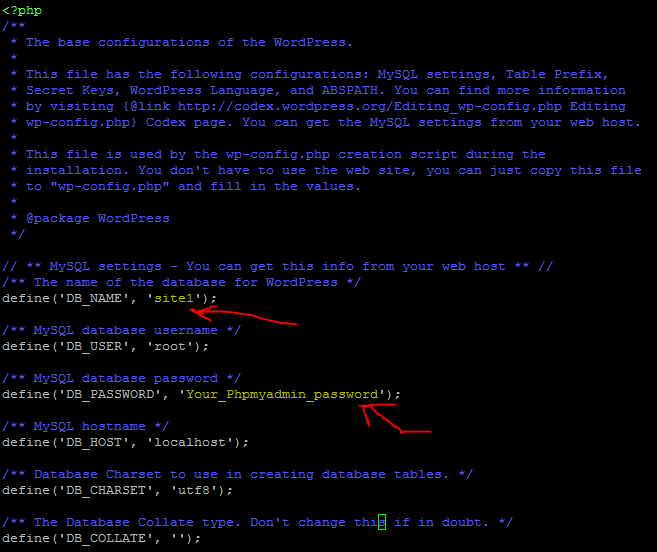
Now access your site1.com and put admin informations there and one wordpress installed.
Follow these for second one too. Just change the Database name from wp-config.php file to whatever you chosen when you created from phpmyadmin.
So your two wordpress in a vps with super speedy lightspeed server is created.