Linux Server Monitoring with Munin
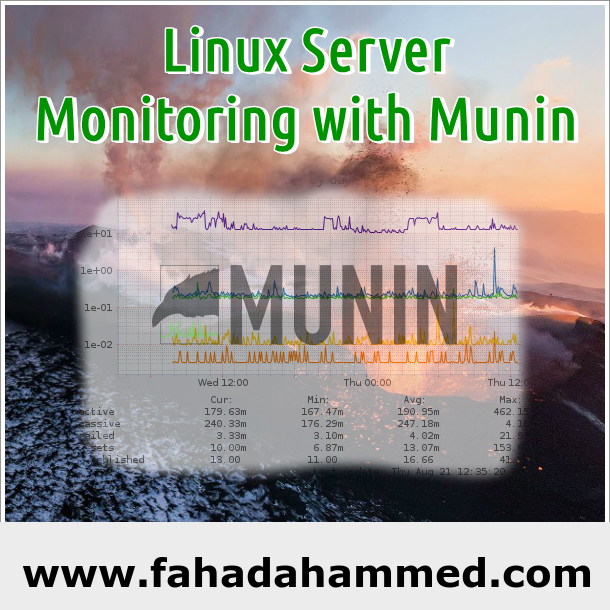
This article is about showing how to monitor any server or remote server by a tool named munin. Munin the monitoring tool surveys all your computers and remembers what it saw. It presents all the information in graphs through a web interface. Its emphasis is on plug and play capabilities. I will show you how to set it up with a remote server too.
Using Munin you can easily monitor the performance of your computers, networks, SANs, applications, weather measurements and whatever comes to mind. It makes it easy to determine “what’s different today” when a performance problem crops up. It makes it easy to see how you’re doing capacity-wise on any resources.
Let’s start the procedure.
To install munin you need to make sure you have apache2 installed or apache server installed. I have used Debian Wheezy for monitoring server and Ubuntu-1404 LTS for remote server.
Monitoring Server:
Install:
apt-get install munin munin-node munin-plugins-extra
Enable Plugins: Now you can enable some plugins which is perfect for your desire. Normally there are some enabled plugins in munin by default. But you can enable more or disable.
Check enabled plugins:
ls /etc/munin/plugins
Above command will give you the output of enabled munin plugins.
Check available plugins to install:
ls /usr/share/munin/plugins/
Above command will show you available plugins which you can enable.
To enable or disable first go to:
cd /etc/munin/plugins/
Then if you want to disable any plugin you can disable by deleting the file from that folder.
rm apache_accesses
To enable:
ln -s /usr/share/munin/plugins/apache_accesses
Every time you enable and disable you should restart both apache2 and Munin. (for both remote server and monitoring server)
service apache2 restart
service munin-node restart
Configuration Editing:
nano /etc/munin/munin.conf
Now Change:
# Example configuration file for Munin, generated by 'make build'

# The next three variables specifies where the location of the RRD
# databases, the HTML output, logs and the lock/pid files.  They all
# must be writable by the user running munin-cron.  They are all
# defaulted to the values you see here.
#
#dbdir   /var/lib/munin
#htmldir /var/cache/munin/www
#logdir /var/log/munin
#rundir  /var/run/munin

# Where to look for the HTML templates
#
#tmpldir /etc/munin/templates

# Where to look for the static www files
#
#staticdir /etc/munin/static
To:
# Example configuration file for Munin, generated by 'make build'

# The next three variables specifies where the location of the RRD
# databases, the HTML output, logs and the lock/pid files.  They all
# must be writable by the user running munin-cron.  They are all
# defaulted to the values you see here.
#
dbdir   /var/lib/munin
htmldir /var/cache/munin/www
logdir /var/log/munin
rundir  /var/run/munin

# Where to look for the HTML templates
#
tmpldir /etc/munin/templates

# Where to look for the static www files
#
#staticdir /etc/munin/static
Also you have to find:
# a simple host tree
[localhost.localdomain]
address 127.0.0.1
use_node_name yes
And change it to: (change the server hostname by yours one.)
# a simple host tree
[server1.domain.com]
address 127.0.0.1
use_node_name yes
You have to add remote server here too. Add below lines.
[remote1.domain.com]
address 111.222.333.444
use_node_name yes
Change above by your remote server information as IP,Hostname etc.
After adding it would look like below and you can add more like this:
# a simple host tree
 [server1.domain.com]
 address 127.0.0.1
 use_node_name yes

[remote1.domain.com]
 address 111.222.333.444
 use_node_name yes

[remote2.domain.com]
 address 111.222.333.444
 use_node_name yes

[remote3.domain.com]
 address 111.222.333.444
 use_node_name yes
Configuration of Apache Virtual host for Munin:
nano /etc/munin/apache.conf
Find:
# Enable this for template generation
Alias /munin /var/cache/munin/www

# Enable this for cgi-based templates
#Alias /munin-cgi/static /var/cache/munin/www/static
#ScriptAlias /munin-cgi /usr/lib/munin/cgi/munin-cgi-html
#<Location /munin-cgi>
#       Order allow,deny
#       Allow from localhost 127.0.0.0/8 ::1
#       AuthUserFile /etc/munin/munin-htpasswd
#       AuthName "Munin"
#       AuthType Basic
#       require valid-user
#</Location>

<Directory /var/cache/munin/www>
        Order allow,deny
        Allow from localhost 127.0.0.0/8 ::1
        Options None

        # This file can be used as a .htaccess file, or a part of your apache
        # config file.
        #
        # For the .htaccess file option to work the munin www directory
        # (/var/cache/munin/www) must have "AllowOverride all" or something
        # close to that set.
        #

        #AuthUserFile /etc/munin/munin-htpasswd
        #AuthName "Munin"
        #AuthType Basic
        #require valid-user
Change it to:
# Enable this for template generation
Alias /munin /var/cache/munin/www

# Enable this for cgi-based templates
#Alias /munin-cgi/static /var/cache/munin/www/static
#ScriptAlias /munin-cgi /usr/lib/munin/cgi/munin-cgi-html
#<Location /munin-cgi>
#       Order allow,deny
#       Allow from localhost 127.0.0.0/8 ::1
#       AuthUserFile /etc/munin/munin-htpasswd
#       AuthName "Munin"
#       AuthType Basic
#       require valid-user
#</Location>

<Directory /var/cache/munin/www>
        Order allow,deny
#        Allow from localhost 127.0.0.0/8 ::1
        Allow from all
        Options None

        # This file can be used as a .htaccess file, or a part of your apache
        # config file.
        #
        # For the .htaccess file option to work the munin www directory
        # (/var/cache/munin/www) must have "AllowOverride all" or something
        # close to that set.
        #

        AuthUserFile /etc/munin/munin-htpasswd
        AuthName "Munin"
        AuthType Basic
        require valid-user
From above you can see that i am saying you to enable password for entering or visiting munin pages. Also allow from all will allow all from outside the server including you.
Give password:
htpasswd -c /etc/munin/munin-htpasswd admin
Above will ask password for user admin. You can change that to your name.
Remote Server:
You have to install these packages in all remote servers or the servers you want to be monitored by your monitor server:
sudo apt-get install munin-node munin-plugins-extra
Now you have to allow the monitor servers ip to get data to show.
Find:
allow ^127.0.0.1$
 allow ^::1$
And add remote server ip like this:
allow ^127.0.0.1$
 allow ^::1$
 allow ^123.123.123.123$
You have to add your monitor server ip like above in every server you want to monitor.
Let you have monitor server 192.168.23.7 then you have to add that as allow ^192.168.23.7$ . You can also add plugins in remote servers. Your remote servers plugins will show them separately in munin.
Finally:
Now restart both apache2 and munin in monitor server:
service apache2 restart
service munin-node restart
In remote servers you have to restart munin node.
service munin-node restart
Now give that some time to generate logs and pages. After some time you can get desired output by accessing http://remote-server-ip/munin/ in a browser. It will ask for user and password. That’s it.
Leave feedback please.